Menu pages is WHERE items are seen by servers and bartenders. This is a 3 Step process. Two steps are done on the "Menu Page" while the last step is done in "Modules/ Button Editor". In Button Editor the menu page is attached to the screen in a specific place based on menu setup.
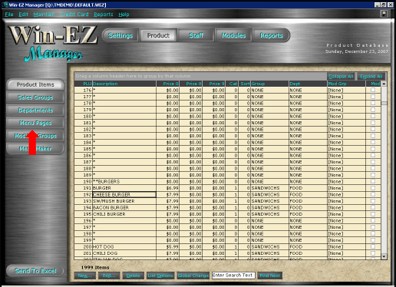
To attach an item to a menu page, a menu page first needs to be created. On the left side of the screen, use the a down arrow to choose an open menu page which is shown with an asterisk (*) and a number. Highlight the empty menu page and press "Edit". The Menu Page can then be named.
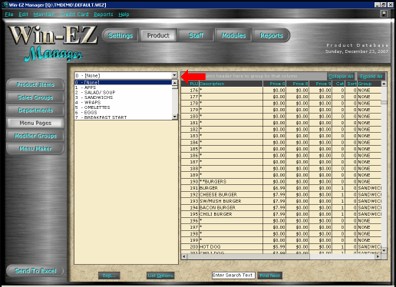
Once the Menu Page is named, the items previously created can be attached. To attach the item, find the item by name or number from the list on the right. "Double Click" the item to attach it to the menu page.
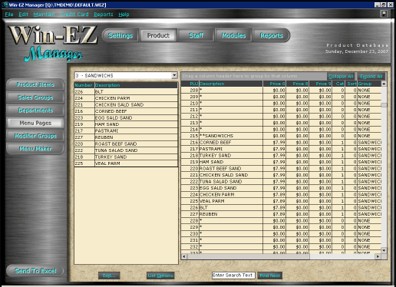
To Remove an item from the list, double click the item on the LEFT to remove it from the server screens. This will leave the item in the Product Item database list but servers and bartenders will be unable to order the item
NOTE: DO NOT delete the item from the Product item database list. This will cause the number to have sales listed on reports to an empty Product item.
The final step is to attach Menu Pages to the Point of Sale screen. This is done in Module/ Button Editor. Attaching the menu page is done only once and every item attached to the menu page will display on the Point of Sale screen after that.
Button Editor is the set up of WHERE menus are placed. There are 5 Steps to Button Editor setup for menus.
Choose "Modules"
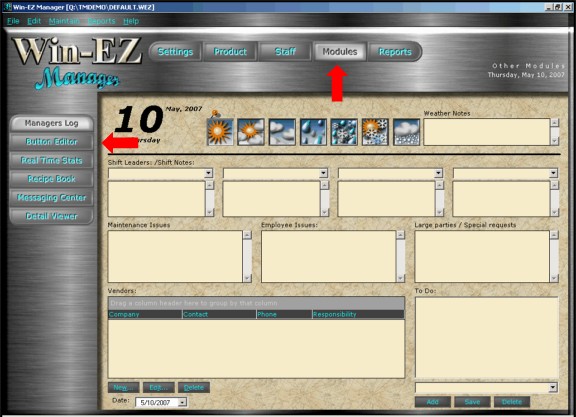
Choose "Button Editor"
Step 1
How many "Main Menus" there should be on the screen? There can be 4 or 6 "Main Menus". Use the drop down box next to "Available Menus" to open zones for 4 or 6 Main Menus
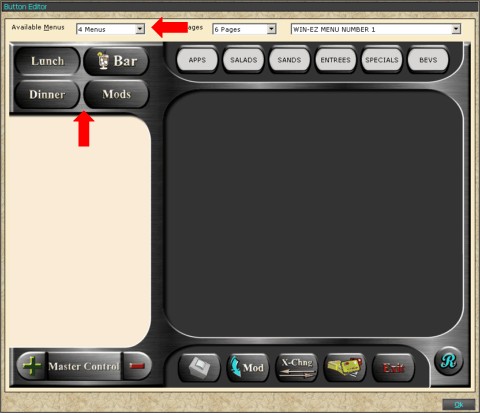
Graphics are designed for Lunch, Dinner, Food, Breakfast, Bar, Mods, Pizza, Beverage, Retail, Entree, Other, and Standard. If Standard is chosen any menu name can be entered. The Standard button background is blue while the others are the Win-EZ gun metal gray.
Step 2
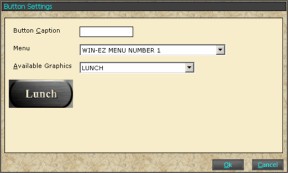
Double Click the Main Menu. This will open a new box where "Win-EZ menu #1-9", "Mods" or "Bar" are assigned along with the graphic associated with that menu.
Step 3
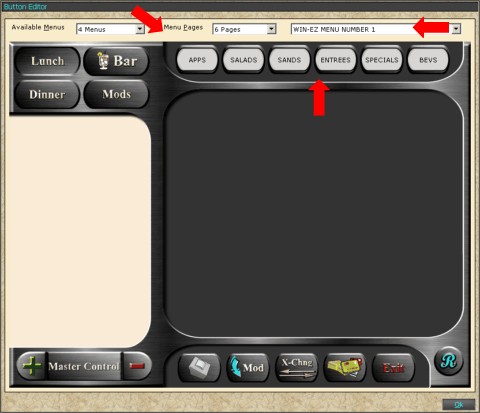
Each Main Menu has the option of 1, 6, 12, or 18 "Menus" for each menu. The example below shows 6 "Menus" for Win-EZ Menu #1
Step 4
Double click on any "Menu" to assign the Menu page to that position.
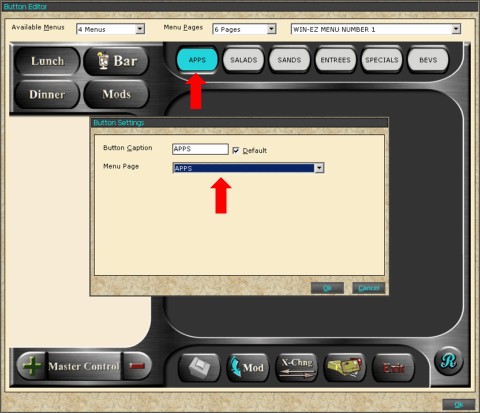
There also a "Default" check box. When that box is check, the "default" menu will be the first menu page displayed when an order is being rung up. There can only be ONE default per Win-EZ Menu.
At this point, Win-EZ Menu #1 is complete. Continue each Main Menu as explained above.