There are many options in Job Code Advanced. This manual will cover 2 examples: server and bartender. Configuring each job for the fastest, easiest way is vital for a successful installation and use. REMEMEBER: If one setting doesn't work the best for that job code, a quick simple change in Preferences is the way to correct it.
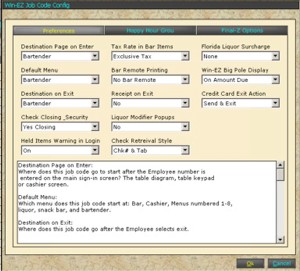
Example: Bartender
Example: Server
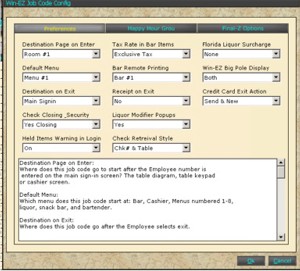
Destination Page on Enter:
Where does this job code go to start after the Employee number is entered on the main sign-in screen? The table diagram, table keypad or cashier screen.
Bar  Server
Default Menu:
Which menu does this job code start at: Bar, Cashier, Menus numbered 1-8, liquor, snack bar, and bartender.
Bar  Server
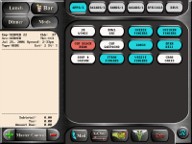
Destination on Exit:
Where does this job code go after the Employee selects exit.
Bar Server
Check Closing Security:
This will determine what security level and check closing rights this job code has. This means, can this job code "close" checks to a certain media. As an example in a cashier environment, servers can open checks, but only the cashier can apply "Media" and close the check.
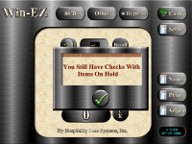
Held Items Warning on Login:
If an employee has an item or items "On-Hold" should a warning window to pop up alerting them that they have items on hold? Every time that employee enters their number a warning will display. The Recall screen will also show which check has the items on hold.

Tax Rate on Bar Items:
This will allow bar items to ring up with "Inclusive" bar tax, "Exclusive bar tax or with the Win-EZ Smarter tax that will automatically change from inclusive to exclusive when a food item is ordered. Note: In the Product Item database tax rate 2 and 3 as well as the major category of bar must be ticked to allow this feature to work.
Bar Remote Printing:
This will allow each job code the ability to select which bar any bar orders will print to. If this job is a bartender set the selection to "None". By selecting "By Terminal" this will refer to terminal config to see where the bar print job should print. This is used to over-ride the job code and force specific terminals to print to specific bars.
Receipt on Exit:
This will print a receipt automatically on exit of a check if turned on. This feature is used primarily at bars and quick service cashier environments. Note: Do not confuse this with printing receipts on the close of a check. That is determined by the settlement media and is turned on and off in media config.
Liquor Modifier Pop-Ups:
This will determine whether this job code will get a modifier window on bar items. Generally this is set to "No" for bartenders.
Check Retrieval Style:
Select from check number and table number, check number and tab name, all check information or check number and tab name for this specific job code. This is useful when multiple bartenders are sharing a terminal and are allowed to ring up drinks on each others tabs.
Server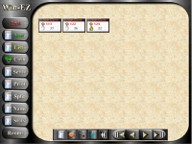 Manager
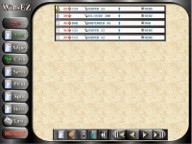
Florida Liquor Surcharge:
This will automatically place a surcharge on the check at the selected percentage of all bar items on that check. Remember this is a surcharge not a tax, so the income to the restaurant is subject to Florida state sales tax.
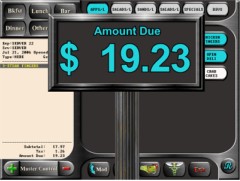
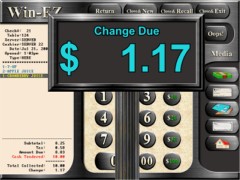
Big Pole Display:
Big Pole displays a large screen for change due or amount due. This is a helpful feature in a cashier environment. It can be set to Change due, amount due, both or none in Job Code Configuration. This is a job code specific setting.
Credit Card Exit Action:
This will determine where the user goes when selecting the Exit button on the credit card media page. The choices are Send & New, Send & Recall or Send & Exit.
Customer Survey:
This will determine how often a survey is printed for this job code. If a survey is desired every 10th receipt the system will keep track by terminal how many receipts each job code prints out. This achieves a truly random pattern that increases the functionality of the survey. To define the questions and enter promotional information go to Settings/Pos Settings/Receipt Options and click on the Survey Tab.