This section is specific to the Epson brand of printers, and may be outdated. Please refer to the documentation included with the latest version of the Epson utility.
In order to print to a TCP/IP printer, the first thing that has to be done is to get the printer set up for your network.
Epson's "TmNet WinConfig" utility is designed to do just that.
TmNet WinConfig
After attaching the printer to the network, and turning on the power, start the TmNet WinConfig utility. The printer should show up in the list as seen below, with the "-- NONE --" designation.
.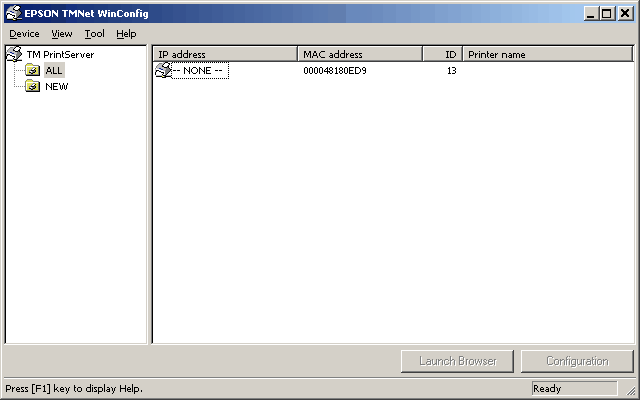
Double click on the printer, and a setup screen will appear.
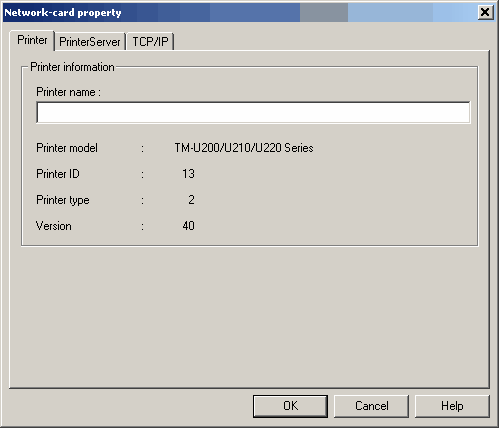
The Printer, and PrintServer Tabs are not used for this application
Select the TCP/IP tab
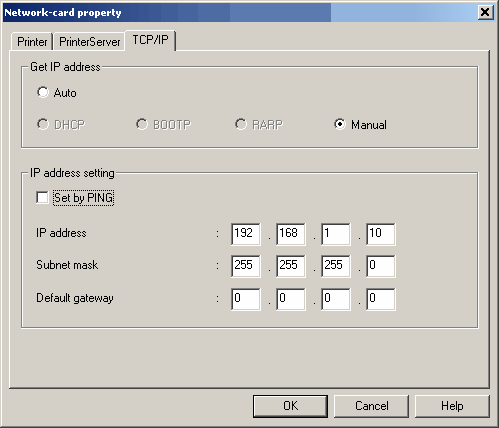
Set the IP address to match your network.
Select OK
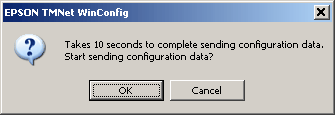
Select OK
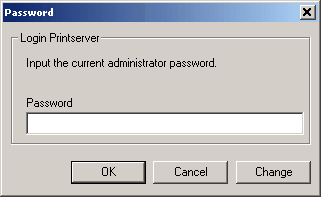
Select OK
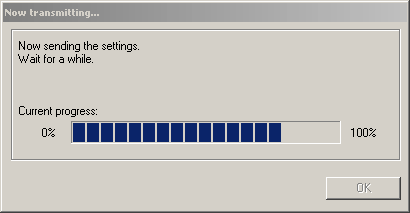
After the Send is complete, Select OK
Select View, Refresh
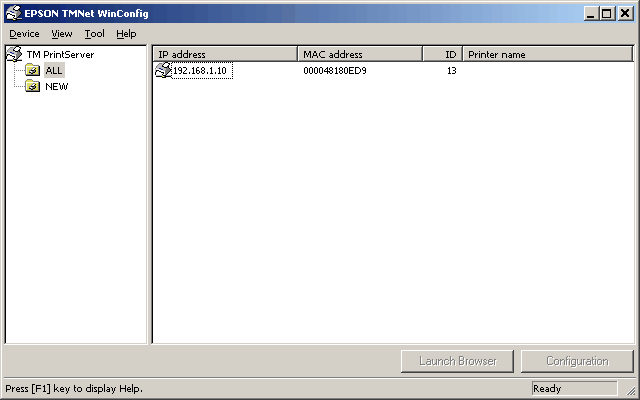
The printer should now show up with the new address.
Repeat this process for each printer on the network.
Testing Printer Settings
With the printer turned on, hold the reset button on the Ethernet Interface Card down for about 4 seconds, a slip will print that contains the printers IP Address, as well as the MAC Address, and other internal specifications.
Resetting the Printer to Factory Default Settings
Turn the printer off. Hold the reset button on the Ethernet Interface Card down and turn the printer on. continue holding the reset button until the printer completes the Power On Self Test (about 5 - 7 seconds, the printer carriage will reset itself to the home position). release the reset button, and the press, and hold the reset button. Continue holding the button until the printer prints a "DO NOT TURN OFF" slip. The printer will print a status slip once the reset is complete (about 15 seconds).