Modifier Groups are like items that ask a question for kitchen preparation. Some examples of groups are Temperature for steaks and burgers. Once a group is created, it can be used for multiple items.
There are two steps to creating a modifier group. The first to to name the group. This is done in the "Modifier Group" section.
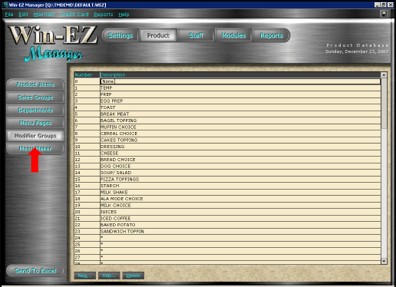
To create a new group press the "New" Button at the bottom of the page or double click an open group that is already created and has an asterisk (*) as a place marker.
Name each group with common names such as Temperature, Preparation, and Starch Choice.
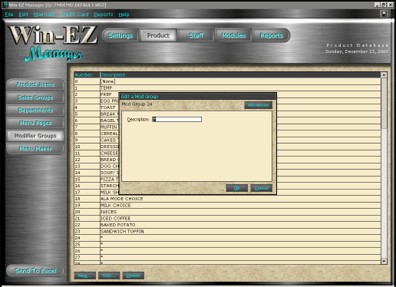
REMEMBER:This is only a name for like items.
If the databases are filled with asterisks as a place marker, double click on an asterisk (*) to open the window to add a description.
To create the modifier Press "Product Items" and find an open section.
NOTE: for easier reporting find a section that can accommodate a large section for "Forced Modifiers".
Double click to open the Product Item.
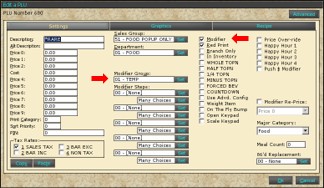
Modifiers use different sections than Menu items even though the same Product item section is used.
Add a Description such as Rare for a Temperature. NOTE: By placing an asterisk (*) as the first character when it's printed at the remote prep printer is will be indented to give the kitchen or bartender a visual marker.
As with Menu Items, using Alternate Description will have the modifier print that section to be prepared.
Add a Price if the modifier needs to be "up charged". As an example, if Egg Whites are an option but is charged $1.00 more than scrambled eggs, enter the price in Price 0.
A Print Category is not necessary because a modifier attaches to the menu item and prints to where the item is printed.
Select a Sales Group that was created in the Sales Group section. Press "Set" to display and choose the Sales Group. Usually one Sales Group is used for all the modifiers
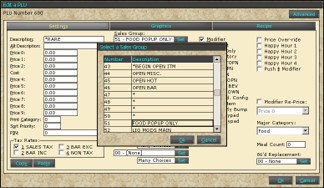
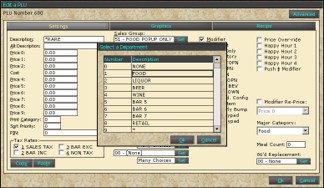
Select a Department that was created in the Department section. Press "Set" to Display and choose the Department. Usually one Department is used for all the modifiers.
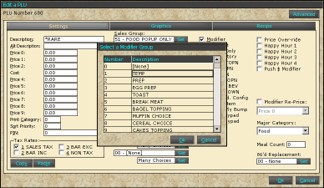
Select the Modifier Group that was created in the Modifier Group Section. Press "Set" to display and choose the Group that this modifier By choosing the group all the modifiers will be prompted when the Menu Item is used.
Because this is a modifier "Modifier" must be checked. If modifier is NOT checked it will not attach to the parent menu item and will not print to the preparation printers. If modifier is NOT checked on one modifier but is checked on another NOTHING after the unchecked modifier will print. Example: if a cheese burger is asking "Temperature" with Medium, "Cheese Type" with Cheese, " Burger Topping" with Lettuce, Tomato, Onion and Pickles BUT Cheddar is not checked as a modifier all the modifiers after the Cheese selection will NOT print to the preparation printer.
Select "Red Print" to have the modifier print in red to the preparation printers. This option works only if the preparation printer model has red and black print options.
Select "Push $ Modifier" to have the priced modifier (see example in Price) added to the menu item on the receipt for customers instead of a separate line item for the modifier.